Install/4-4/SocketPrint
From Convention Master Documentation
<< Previously: 4.3 - Set up Printing to PDF
Set up Socket Printers
Useful For: Receipt Printing
Limitations: Convention Master simply telnets to the printer and sends the data. No printer drivers are actually used.
Install the Printer
Since no printer drivers are actually used, there is no ‘installation’ part to this print method.
Set up the printer in Convention Master
1. To install the cups printers in Convention Master, access your console by browsing to http://<your install path>/console/
2. Click on “Admin – Printing”, then “Manage Printers”
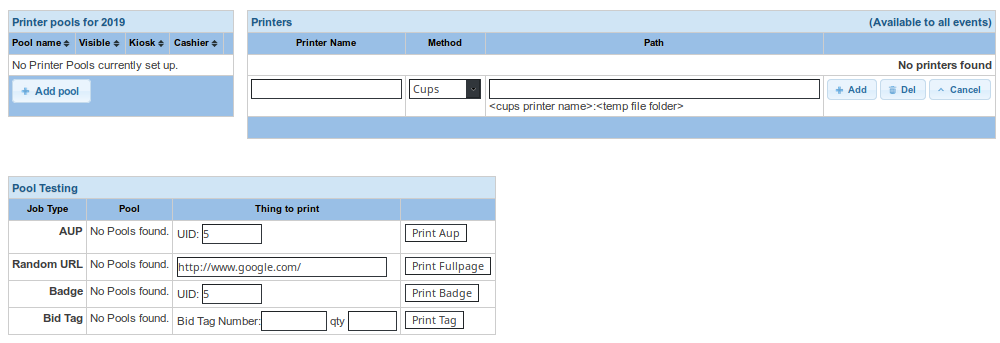
3. In the upper right of the manage printer screen you can add your printer. If this is not the first printer you have set up, you may need to click the “Add Printer” button first. Then set the following:
- Printer Name
- This is the name you want to assign to the printer.
- Method
- Choose Socket
- Path
<IP>:<Port>:<Type>where<IP>is the ip address of your Ethernet printer and<Port>is the port number that printer is listening on. Type can be eitheresc-posfor Epson-style printers, ortextfor plain-text printers.
4. Click "Add"
5. Once set up you should see your entries in the Printers table and they should look like this:
Test the Printer
To test the printer functionality, add the printer to a printer pool and then use the Pool testing section. Read the Setting up printer pools section of this manual to perform the tests.

